


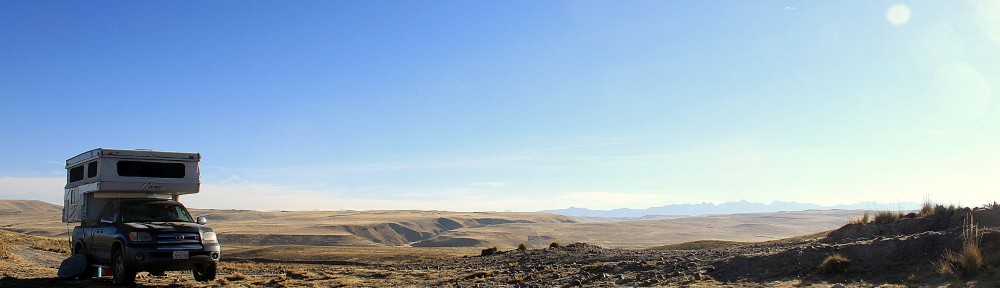


The first visions we had of driving down the Pan-American Highway had us in a rescue orange, late model Sportsmobile complete with ladder and yakima racks. That very model went up for sale on the Sportsmobile website and haunted us for weeks. We bent the budget numbers like an Enron executive in an attempt to justify the $70,000 purchase. Reality soon set in and we realized we could equip and fund the trip for nearly half that.

The stuff dreams are made of
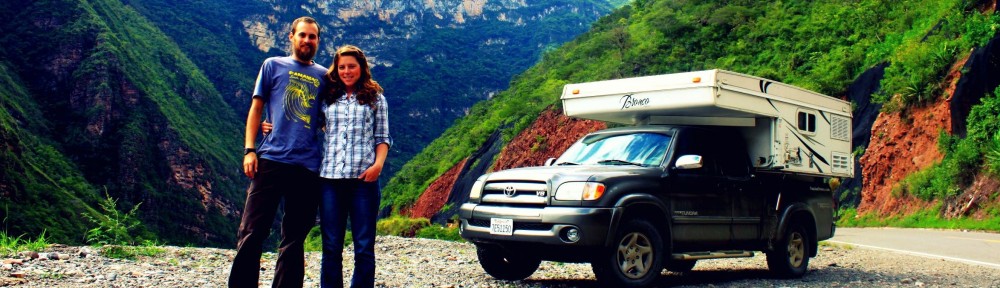
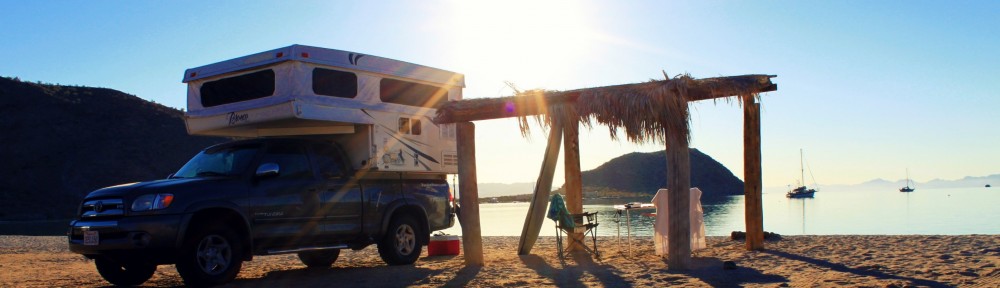
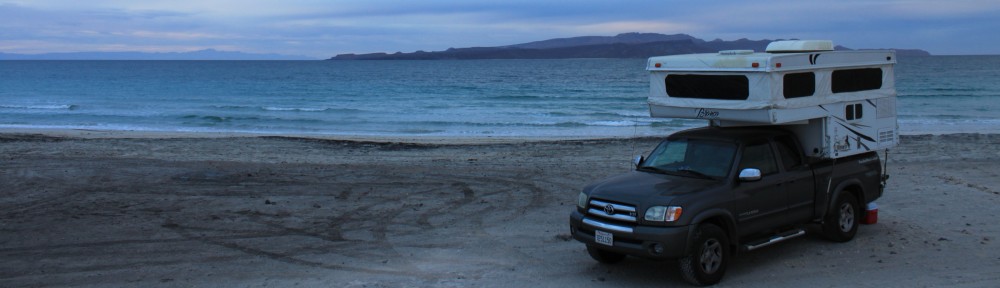
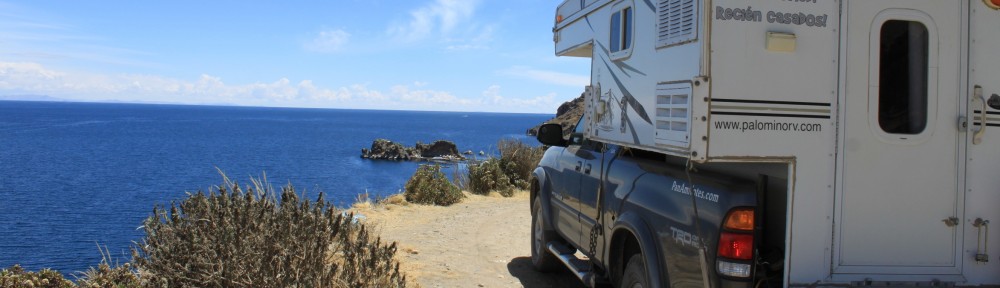
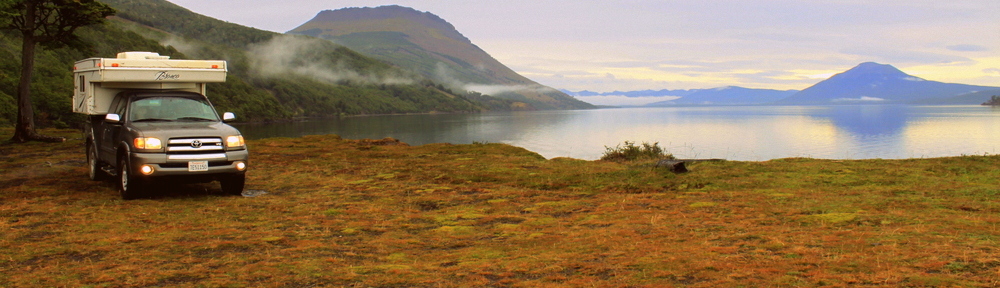
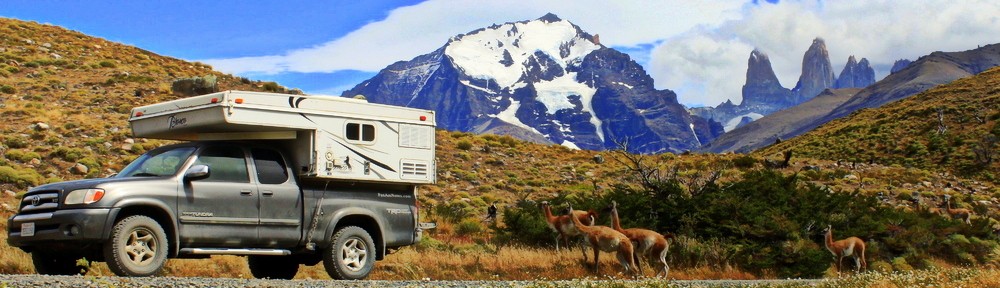
Toyota was chosen on account of it’s expansive service network around the world. While the Tundra is built in and exclusively for the US, should anything go wrong, the network will never be far. While on the road we have already passed a number of authorized dealers. Additionally, Toyota is a company with a history of vehicles that surpass the 200,000 mile mark. And with our equipment budget, we just might see it.
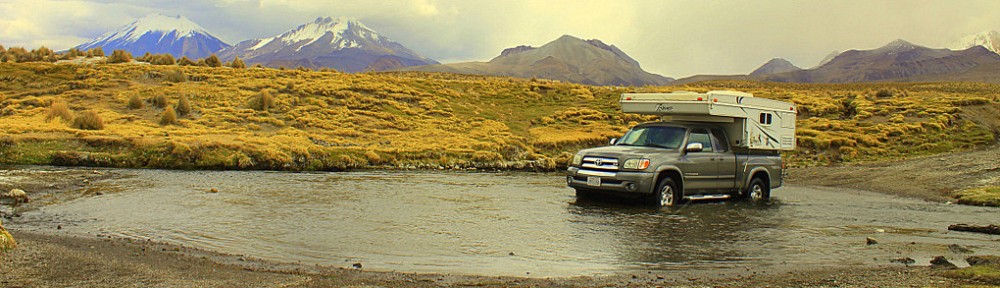
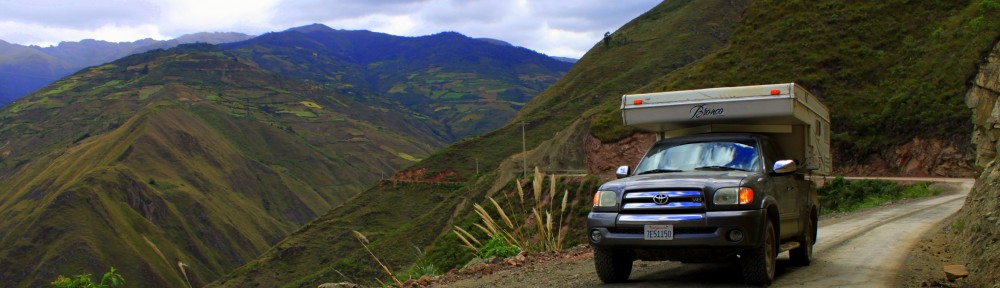
Next, we briefly debated a Tundra versus a Tacoma. Both would make exceptional platforms, but our need to haul a truck camper in the bed ended it quickly. The payload rating in the Tundra is approximately 700 pounds greater than the Tacoma. Some other advantages such as the larger fuel tank, roomy interior, access cab doors, and V8 engine also helped. Even if we had gone the route of a sleeping platform or Flip Pac, we would have stuck with the Tundra for these reasons.

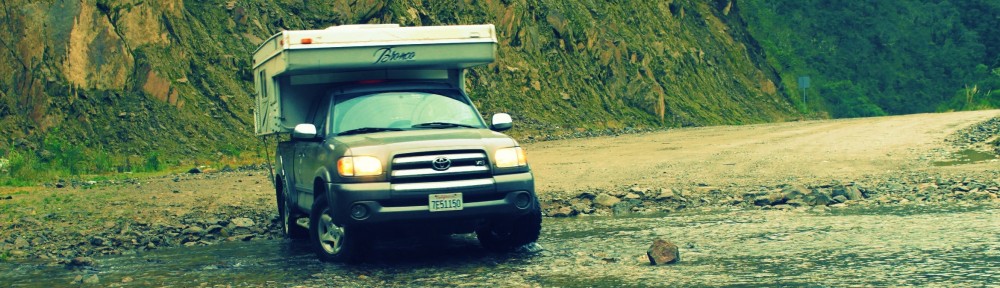
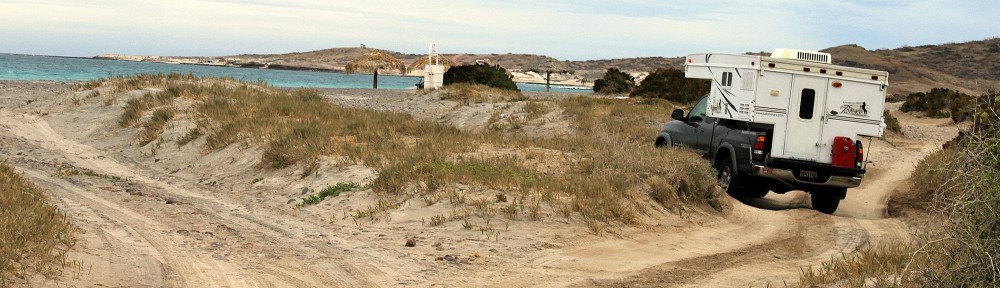
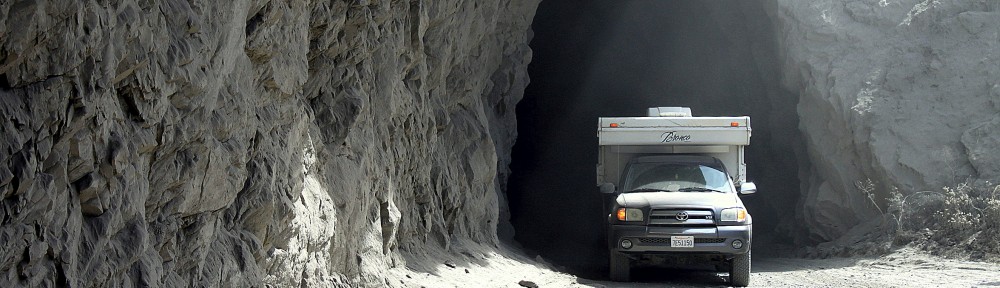
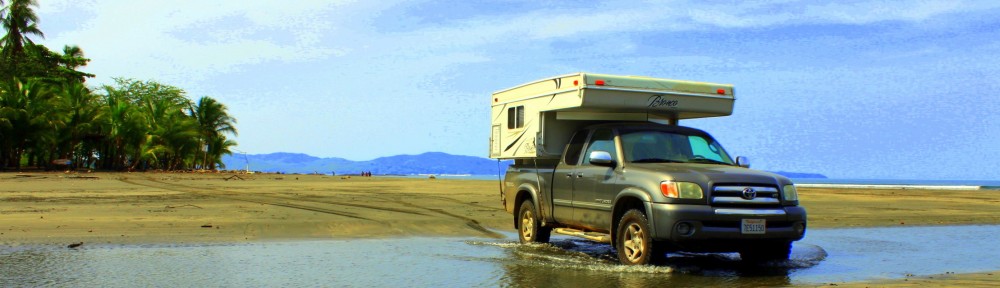
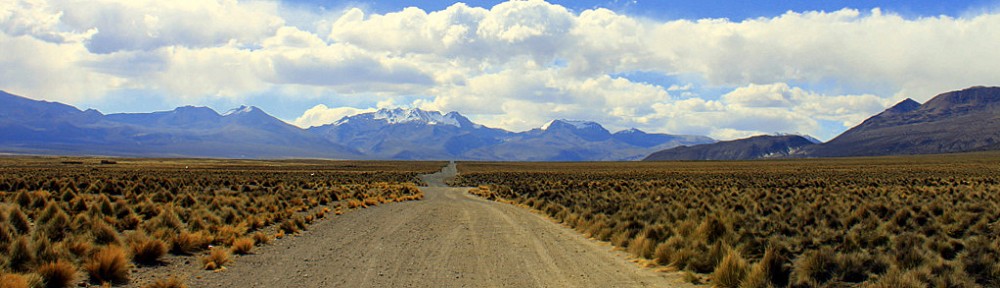
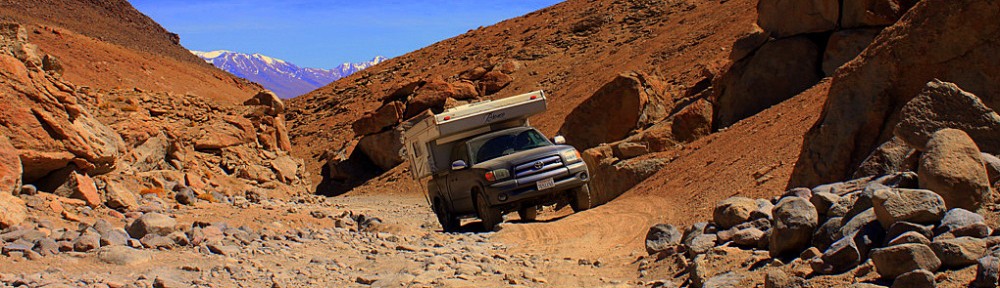
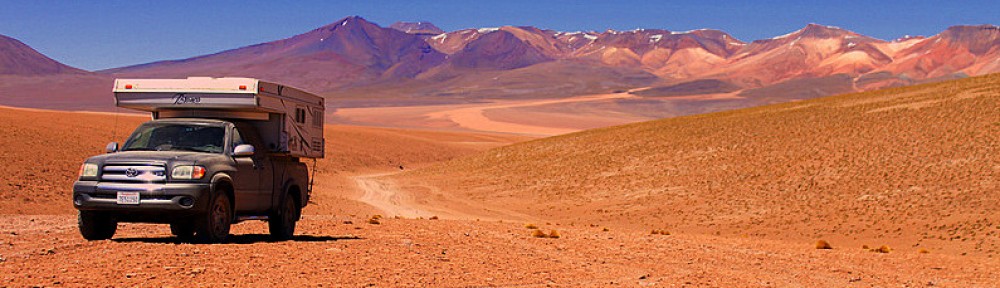
On the dirt roads of Costa Rica
When shopping around for first generation Tundras we specifically sought out the 2003 and later models. In 2003 Toyota addressed a number of minor issues with the engine (O2 sensor and exhaust manifold) and frankly, improved the looks. Additionally the factory towing package was improved in 2003 to include a heavy duty 130 amp alternator, 7 pin trailer connector, and most importantly, a transmission oil cooler. We purchased a truck with the TRD stickers package but felt it was unnecessary as this upgrade only came with upgraded shocks, tuned suspension, and mud flaps.
In June 2010 we purchased a 2003 4WD Tundra TRD with 110,000 miles and the maintenance and modifications began. This was our laundry list of maintenance which we took straight from the manual. It is everything that should have been done at the 90,000 mile service through the 150,000 mile service. If you complete all of this yourself expect to spend more than a few weekends and at least $1,500. If you have a mechanic handle the work, budget $3,000 – $4,000, the timing belt replacement alone will cost around a grand.
- Transmission flush, new filter, synthetic fluids
- Replace differential and transfer case fluids
- Synthetic engine oil, new oil filter, air filter, lube driveshaft
- Top off brake and power steering fluids
- Replace PCV Valve
- New platinum spark plugs
- New starter battery
- Radiator flush
- New windshield wiper blades
- New front brake pads and upgraded rotors
- New serpentine belt
- Replace timing belt, tensioner, and water pump
- Replace fuel cap gasket (common problem on the 2003 model)
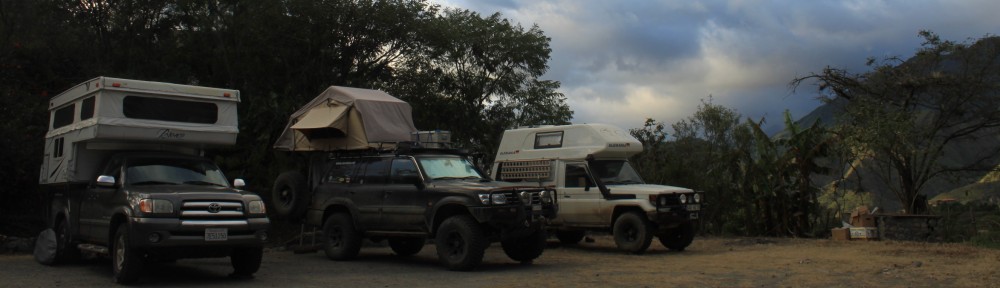
With the maintenance complete, on to the modifications. In this department the sky is the limit and you could easily blow an entire trip budget on custom bumpers and suspension upgrades. We felt that one dollar spent traveling is much more valuable than one dollar spent on upgrades, and, $2,000 can get you out of a lot of situations that 33 inch tires will not. In that spirit here are the basics.
- 4 new BFG All Terrai, Baja Champions (size: 265/70R16)
- Heavy duty shocks (Bilstein HD)
- Garmin GPS with WorldMaps and mount (model: Nuvi 755T)
- Fire extinguisher
- Emergency triangles
- Battery pack with AC converter and emergency jumper (our Duracell Battery power pack 600 AC charger broke in the first month)
- Fix a Flat in a can
- Tire plug kit
- License plate holder, tamper resistant
- General mechanics tools
- Chilton repair manual
- Tow rope
- First Aid Kit
- Great alarm system
- Extra serp belt (and any other part you can get your hands on)
- Spare oil filter
- Patterned lug nut locks
- Axe, shovel, jerrycan, water container
- Air compressor
- Check engine code reader
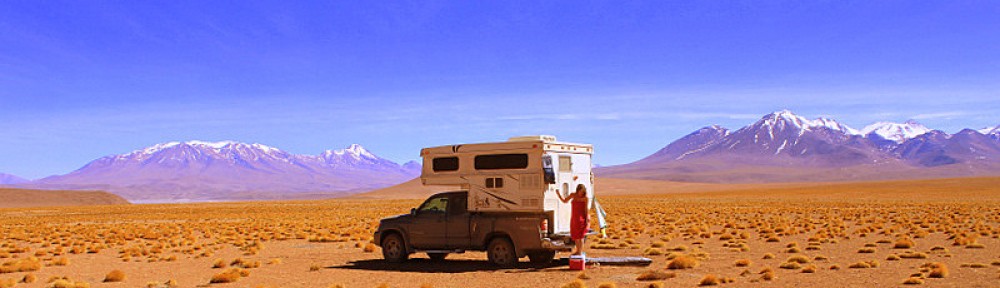
Modifications to accommodate a truck camper or heavy load.
- Upgraded tires, Load Series D or E
- Firestone ride-rite air helper springs
- Rubber bed mat
This is part one of a series we are doing on overland tech. Stay tuned for a 5,000 mile update and a post on preparing you truck camper for international overland travel.


Mini trucks like Tacoma and Tundra are well enough for small business personnel. I can suggest to the people who want to buy mini truck, should choose Tundra or Tacoma.
Pingback: Pop-up Camper Expedition Prep | PanAm Notes
Pingback: Budgeting and Costs | PanAm Notes
Pingback: 4x4, Budget, Preparation Overland Travel - Budgeting and Costs
I read people saying ‘Don’t drive a Toyota Tundra in SA – it’ll be impossible to find any spare parts should you need to fix anything!’ – what’s your experience been?
We didn’t need many parts for our Tundra (that’s why we went with the.Toyota and Tundra), but never had issues tracking them down when we needed them. Even Tundra/Sequoia specific steering components were findable in Bolivia.
The best advice I can give you is to never take advice from people who haven’t done this trip. The internet is chalk full of arm-chair quarterbacks with advice and its worth what it costs, nothing.
The next best advice I can give you is: go with the Tundra.
Great, thanks – which is exactly why I asked you
I have the same Tundra, great vehicle. Owned 6 other Toyota products over 30 years and have never had a problem.