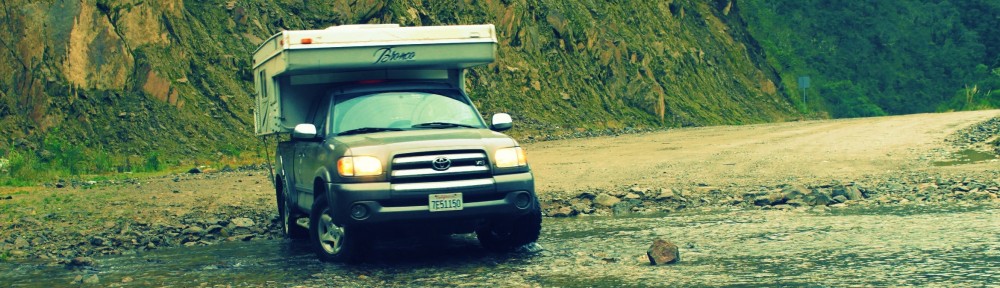

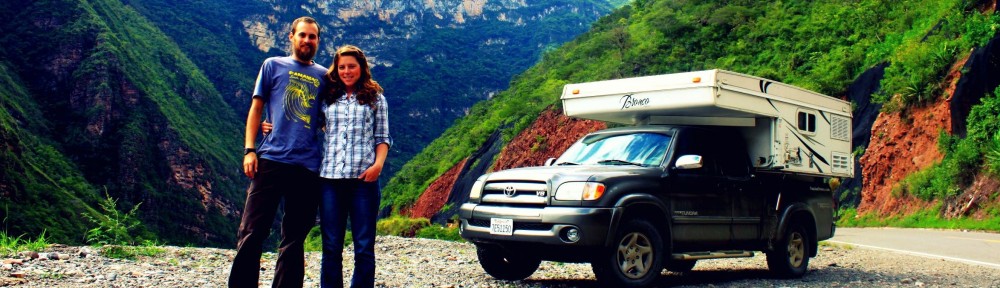


After Christmas break and a hard drive failure, we’re back to our overlanding advice series! This is part five of ten.
Despite living in the Bay Area I have always been one who prided myself on navigation sans technology. I reluctantly purchased our Garmin Nuvi months before our departure. Getting used to a calm computerized voice dictating my every turn took some getting used to.

A Cool 15k'
When we started I thought we had our GPS system dialed in with the un-routable and horribly inaccurate Garmin WorldMaps loaded. What a mistake. It didn’t take long before our GPS was reduced to an expensive compass and we utilized paper maps and luck to get us though unsigned cities.
Country-by-country we stumbled through, slowly improving our technique. I now think we know what we’re doing and it makes a world of difference in ease of planning. We plan one country in MapSource while we’re in the neighboring country (i.e. we planned Bolivia while we were in Southern Peru). This is great for visualizing the highlights, campgrounds, and selecting routes. Here’s our technique:
You will need
Garmin brand GPS (worldwide standard for overlanders)
GPS USB cord to connect to your computer
Garmin MapSource (free to download)
Country map (OSM, Perut, Mapear, etc)
Camping guides with GPS waypoints

Route Planning in MapSource
- Start a new MapSource file for the country you are planning.
- Load the maps for the Country into MapSource (OSM or country specific map)
- Go through the camping guides and insert any sightseeing destinations, surf breaks, recommended camps, even grocery stores into the MapSource file using the ‘insert a waypoint’ feature with the GPS coordinates. (For Bolivia we had only 60, but Argentina and Chile we had over 200). Importing these waypoints into MapSource using your computer and real keyboard saves you the hassle of importing them directly into the GPS.
Pro Tip: When adding waypoints fill in the comments section with notes on the campground/waypoint such as directions, pricing, or nearby attractions. This saves you from having to refer back to the camping lists once you’ve uploaded them to your computer.

Waypoints list in MapSource
- With your waypoints mapped it’s time to plan your routing. Doing this is much easier on the computer as the map and your destinations will be laid out on your large computer screen. Routes will become more obvious compared to viewing them on your small GPS screen.
- With the waypoints set and the routes determined it’s time to import the information into your GPS. Click ‘Transfer’ on the toolbar then ‘send to device’ by selecting ‘maps and waypoints options’.
- Waypoints on my Nuvi are saved under ‘favorites’ in the routing menu. Additionally they are always visible on the map no matter the zoom level.
- The maps you loaded can be selected by going to Tools / Settings / Map / Map Info. Select the map you uploaded and be sure to deselect other maps; overlaid maps will confuse the routing feature.
If your GPS has an SD card slot you will have the option to load two auxiliary maps in addition to the factory map supplied with your GPS. For example on my GPS I have Garmin North America, Open Source Maps, and Argentina’s Mapear as selectable options. Without a card slot you will only be able to load one auxiliary map.
Once out of a country you can clear the waypoints or favorites on your GPS by selecting Tools / My Data / Delete Favorites. This will keep you from maxing out your GPS storage and get you ready to load the waypoints for the next country.
You can also help the map makers by loading your tracks to your MapSource GPS file and sending them corrections or additions for the different routes you take. You can also save these in MapSource with your country file and refer back to them.
See also our post on how our navigation process evolved from paper maps: Latin American Navigation
Lastly, remember this is just a plan, abandon and adventure at will!


perfect timing! I haven’t quite dialed in our old Garmin yet…it’s been on my to-do list for a while. Now I’ve got an easy cheat-sheat for the whole process! Thanks again guys
Thanks so much! We will follow your lead. Sara
worldwideride.ca